
Tired of paying an arm and a leg for kombucha? It’s true that this popular drink is a miracle worker when it comes to gut health, but these pricey slices of heaven can start to make quite a dent in your wallet. Luckily, brewing kombucha is not nearly as intimidating as it might seem. You don’t need a garage or a miniature brewery to start creating your own flavors and brews, you just need a countertop, a positive attitude and a sense of adventure.
Let’s get started.
A bit about kombucha
Kombucha is a fermented tea that is usually flavored with fruits or spices. A SCOBY (symbiotic culture of bacteria and yeast) is what gives the sugared tea its fermentation, just as a sourdough bread is fermented by a cultivated yeast culture. These cultures are often referred to as "starters," as they are what begin the fermentation process in a batch of kombucha. Each batch of kombucha adds a new layer of culture to the SCOBY, so a single starter can fuel hundreds of batches for years to come. Just peel off a layer to start an additional batch, or give it to a friend for them to start their own.
These SCOBYs are living cultures and are packed with probiotics and healthy bacteria. However, if not taken care of properly, the cultures can grow mold and become harmful to ingest. Be sure to keep an eye on your SCOBY and follow directions clearly before drinking any homemade kombucha. Because of the slight alcohol content due to the fermentation, some medications should not be taken at the same time, and pregnant women and children under 4 years old are not recommended to consume the drink.
Kombucha has been around for hundreds of years, and the general consensus is that if the SCOBY is healthy, then the drink will be healthy.
Brewing kombucha in your apartment
Here’s the low-down on how this whole kombucha-brewing process works.
Find a SCOBY
The SCOBY is what eats the sugar in the tea, leaving the drink fermented. It looks like something from an alien movie, for sure, so it’s a good thing it grows best in the dark and far out of sight.
The easiest way to procure a SCOBY is to ask a friend for a layer of their culture. This reduces your brew time by almost four weeks, as growing the SCOBY yourself is the longest part of the process. Make sure to ask for at least 2 cups of fermented tea along with your new SCOBY layer so the bacteria have something to feed on, otherwise the culture will dry out and die.
If you are the kombucha trailblazer of your friend group, no fear! Either find a recipe to make your own from scratch, or buy a starter kit to guide you through the steps.
Here are some stores that provide starter kits:
Here are some recipes to grow your own:
Brew the tea
Kombucha is most often made with black tea (it’s easier and more nutritional), but any type of black, oolong, white or green tea will do. Steer clear from earl grey tea, herbal teas and other flavored teas, as they contain oils that are harmful to the SCOBY. Decaffeinated tea will not work, as the SCOBY needs caffeine to grow (don’t we all, right?).
Tea leaves are washed for the first time when they are brewed in hot water, so using organic teas will prevent you from ingesting pesticides and will keep them from killing your SCOBY.
Loose leaf teas contain more nutrients than tea bags, so the flavor will likely be stronger and more flavorful when using leaves instead of bags. Plus, tea bags may contain chemicals as a result of manufacturing the paper bags. Loose leaf tea just eliminates any issues that might arise when using low-quality tea bags.
Make sure to dissolve the sugar completely so that the tea ferments evenly when added to the SCOBY. It is vital that your sweetened tea cools completely to room temperature before it is added to the SCOBY, otherwise the heat will kill the culture. This can usually be done overnight.
Add the tea to the SCOBY
It’s important that there is a bit of previously-fermented kombucha in the jar with the SCOBY before the cooled tea is added. The existing kombucha contains the acid needed to help kickstart the fermentation process in the new batch.
Cover the jar with cheesecloth or paper towel and secure with a rubber band. The bacteria in the SCOBY consume the oxygen in the air and use that energy to break down the sugar in the tea. The oxygen and sugar is converted into acid, alcohol and carbon dioxide, giving the kombucha its trademark fizziness and fermented taste. The covering on the jar must allow the oxygen and carbon dioxide to pass through, otherwise the SCOBY will suffocate and die.
Leave the tea to ferment
This step is referred to as the first fermentation, which creates the plain base to which flavor can be added later. There should be no added flavoring at this point aside from the sugar that has been dissolved in the tea.
The SCOBY grows best in dark, still areas at room temperature. This could be a kitchen cupboard or a dark corner. The tea will ferment at different rates depending on the surrounding temperature, but there isn’t an exact amount of time that is used across the board. Fermentation often takes longer in colder environments (10-12 days) as compared to warmer environments (6-10 days). A good rule of thumb is to taste the tea after about 6 days to test how sweet or vinegary the brew is.
Side note: It’s important to use glass jars instead of plastic or metal, as plastic is prone to unwanted bacterial growth and metal can cause reactions with the acid in kombucha. Generally, glass jars are recommended for the entire kombucha process, so it’s a good idea to invest in some sturdy gallon jars with wide necks.
Bottle and flavor the kombucha
This is the second and final fermentation. From here, it’s up to your personal preference to determine the next steps.
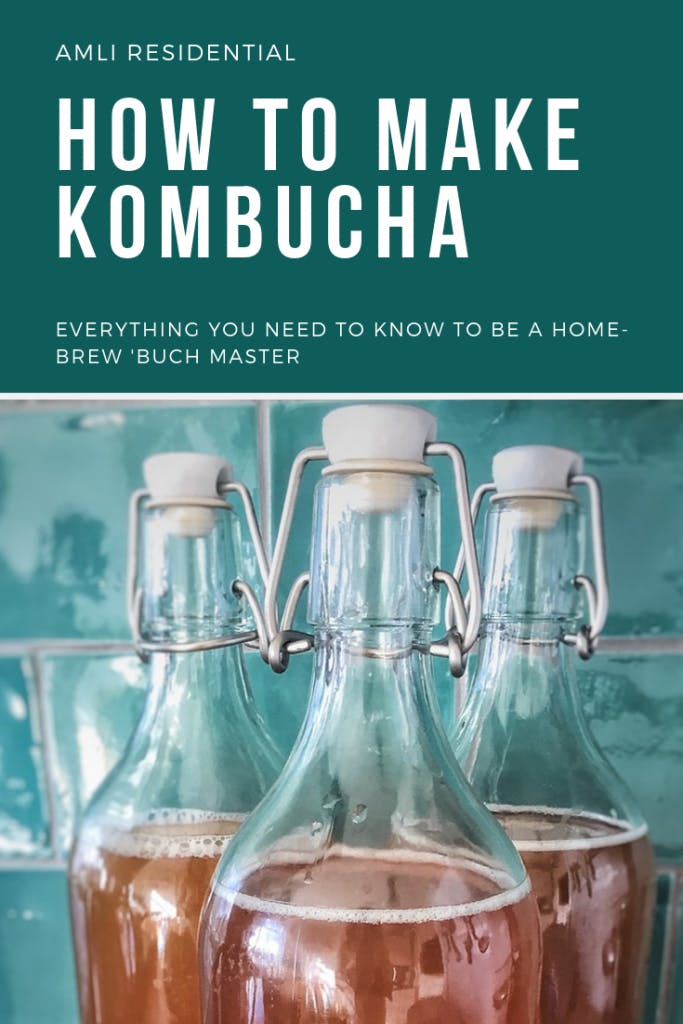
First, transfer the brew to clean bottles with airtight lids, making sure to leave at least 2 cups of fermented kombucha with the SCOBY so it doesn’t dry out. At this point, the fermented kombucha is ready to drink as is, but there are still options for flavoring and carbonating the brew.
If you want to add carbonation to your kombucha, leave the bottles sealed at room temperature for a few more days. The bacteria in the brew will continue to eat the sugar, but the carbon dioxide will be trapped in the liquid instead of being released. This leads to a slower fermentation, but the taste will still become more vinegary the longer it is left. If you refrigerate the bottles, the carbonation will slow down or stop completely, as cold liquid is better at storing carbon dioxide than warm liquid.
Storing the bottles at room temperature for too long might cause the pressure to build up in the bottles, resulting in explosions or overflows. It’s important to ‘burp’ the bottles regularly to release air pressure if storing for extended periods of time.
Adding dried fruit to the kombucha can aid in carbonation and add flavor to the brew. The leftover bacteria can eat the sugars off the fruit and produce more carbon dioxide in the liquid. If you add fruit juice, make sure there is a 20/80 percent ratio of juice to kombucha. If using dried fruit, add about two teaspoons of fruit for each cup of kombucha.
Here are just a few great flavor combinations to try:
- Lemon-ginger
- Blueberry
- Strawberry-mint
- Raspberry-lime
- Cranberry-orange
- Peach
What next?
At this point the circle of life resets itself, and the kombucha process starts all over again. If you want a break from being an at-home brewmaster, just move the SCOBY to the fridge to go dormant until you are ready to start again. Be sure the SCOBY has a few cups of brew to snack on while hibernating, and seal the jar to prevent any further fermentation.
Brewing kombucha has never been easier. Now that you are a kombucha genius, check out these recipes below to find the kombucha brew that suits you and your lifestyle. Remember to share the love by gifting your friends and family with a SCOBY of their own so they can enjoy it, too!
Happy brewing!
Feature photo courtesy Pixabay/CookYourLife

Colleen Ford is a South African who now lives on Oahu in Hawai'i. She loves to travel, camp, spearfish and hike. She's also part of a super cool canoe club and is pretty decent at it. Colleen enjoys Star Wars and also not being cold ever.